How to Make Your House Smell Good: The Three-Step System Most People Do Backwards
I Lost a Two-Year Argument With a Kitchen Drain
For two years, my apartment had a smell I couldn’t place. Faint, slightly sour, always strongest in the morning. I fought it the way most people do: I bought things. A vanilla candle. A plug-in. An oil diffuser with seven LED color settings I never asked for.
The smell absorbed every purchase and kept going. Then a friend who works in plumbing visited, sniffed once, and said, “Your drain trap’s dried out.” He poured a glass of water down the kitchen drain. The smell was gone by dinner.
Two years of candles. One glass of water.
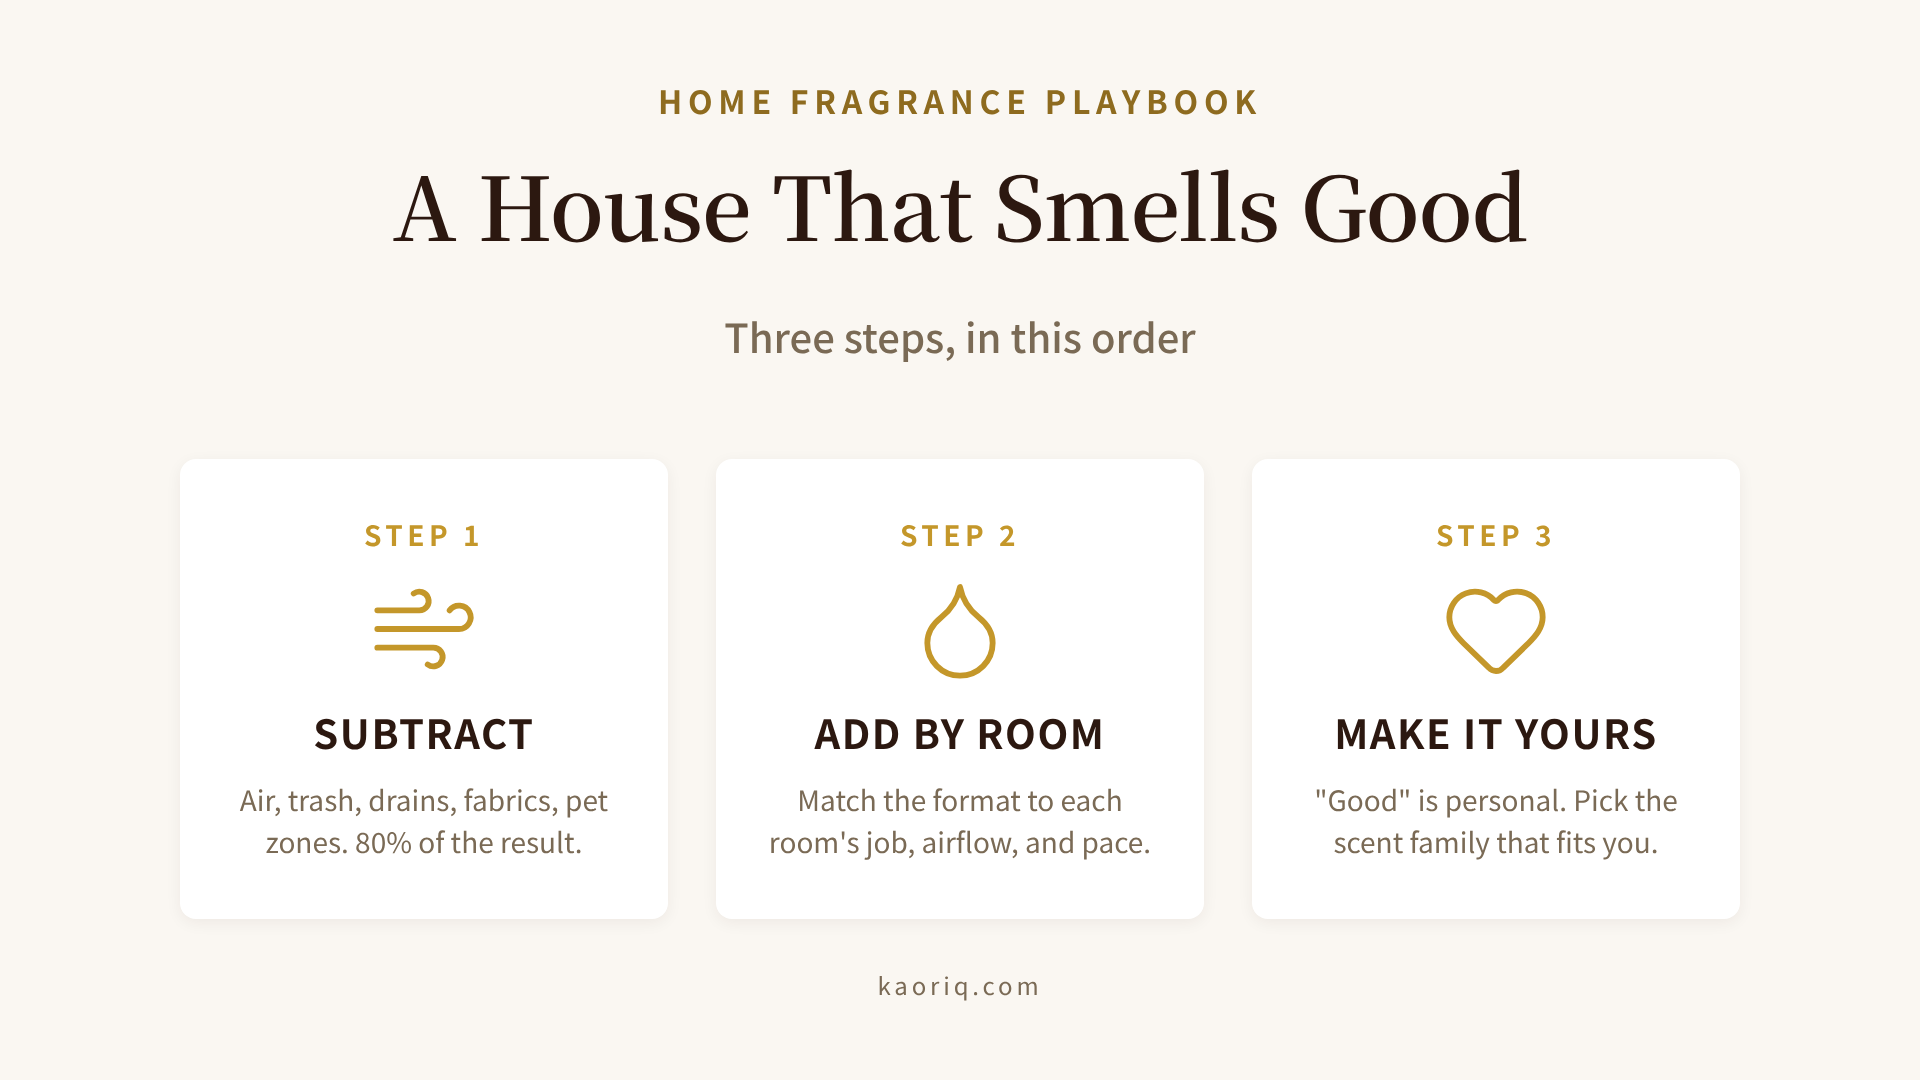
That afternoon taught me the rule this whole guide hangs on: fragrance is the second step, and most of us do it first. If your house doesn’t smell good, the answer usually isn’t a better candle. It’s the order of operations.
Why Starting With Fragrance Fails
Two reasons, one chemical and one neurological.
Bad smells don’t get replaced. They get blended. Spray a floral mist over a garbage smell and you don’t get floral. You get floral garbage, which is somehow worse than either ingredient on its own. Professional cleaners and fragrance brands agree on this point more than they agree on anything: remove first, add second.
Your nose stops reporting after about ten minutes. This is olfactory adaptation, the brain’s way of filtering out constant signals so it can notice new ones. It’s why you can’t smell your own house, good or bad. It’s also why people over-spray: you stop registering your fragrance, assume it has faded, and add more, until a guest walks into what feels to them like a perfume counter having an emergency.
Adaptation cuts both ways, though, and it makes you the least qualified person to judge how your home smells. The workaround is simple. Step outside for twenty minutes, come back, and inhale at the front door. That first four seconds is the version of your home everyone else gets.
Step 1: Subtract the Bad Smells
This part is unsexy, cheap, and responsible for about 80% of the result. Work through the big sources before buying anything scented.
Air, first and always. Ten minutes of cross-ventilation (two windows open on opposite sides of the home) swaps out more stale air than any device you can buy. Do it daily if you can, and always after cooking. While you’re at it, check your HVAC or range-hood filter; a saturated filter quietly re-circulates last month’s dinners.
The trash and the drains. Wipe the bin itself, because the bin is usually the thing that smells long after the bag is gone. Drop a few spoonfuls of baking soda (or a couple drops of essential oil) at the bottom before lining it. Run water through every drain in the house weekly; an unused drain dries out and lets sewer air drift up. Ask me how I know.
Soft fabrics. Curtains, sofa throws, cushion covers, rugs. Fabric holds odor the way nothing hard-surfaced does, and it re-releases that odor slowly for weeks. Wash what’s washable on rotation. For carpets, sprinkle baking soda, wait fifteen minutes, vacuum.
Pet zones. Litter boxes, pet beds, the spot by the door where the leash lives. Enzyme cleaners work better than any fragrance here, because they break down the odor molecules instead of arguing with them.
A word about baking soda, since it appears twice above: it costs about a dollar and quietly outperforms half the forty-dollar products I’ve owned. I find this genuinely annoying, and I keep buying it anyway.
Step 2: Add Scent, Room by Room
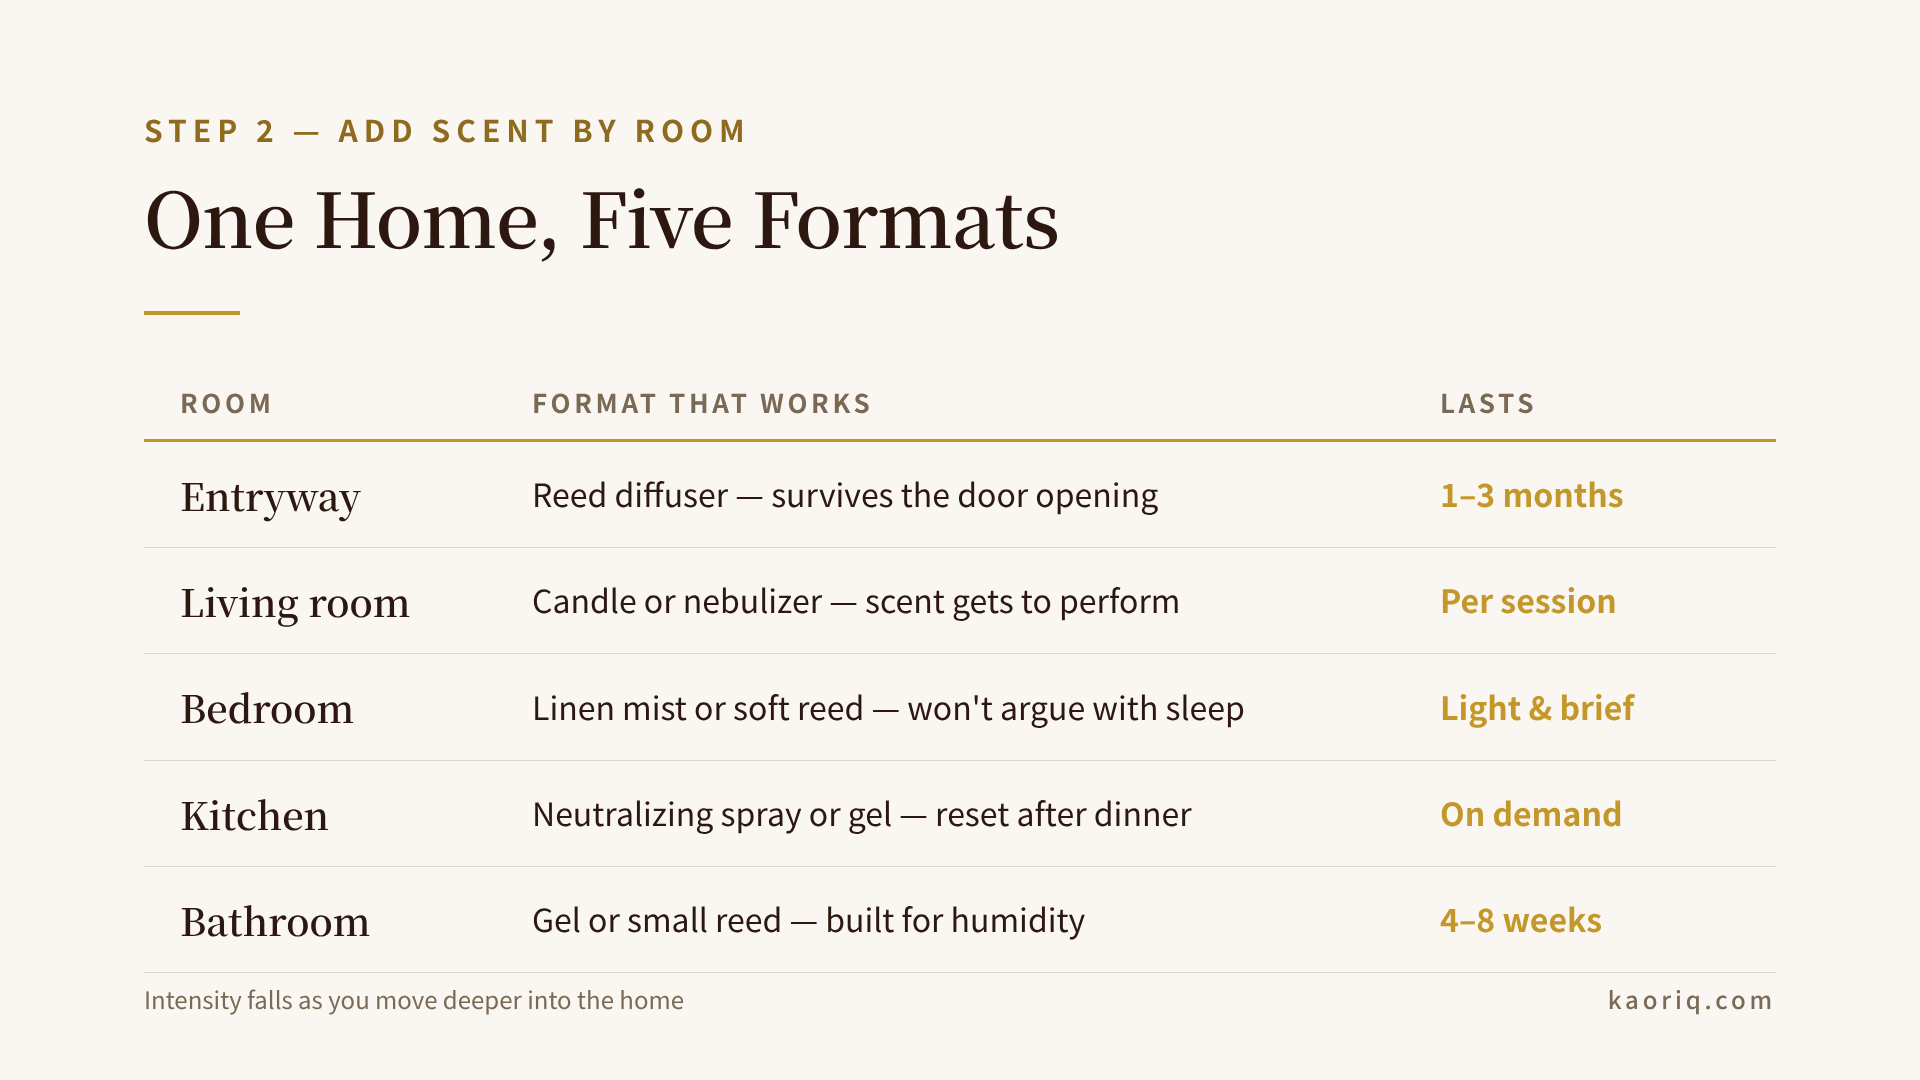
Once the baseline is neutral, fragrance finally gets a fair fight. The mistake at this stage is treating the house as one room. Each space has its own airflow, its own temperature swings, and its own job to do, so the format you choose matters as much as the scent inside it.
| Room | Format that works | Lasts | Why |
|---|---|---|---|
| Entryway | Reed diffuser | 1–3 months | Continuous low output survives the constant door-opening |
| Living room | Candle or nebulizer | Per session | You’re present and awake; this is where scent gets to perform |
| Bedroom | Linen mist or a soft reed | Minutes to weeks | Light enough that it won’t argue with your sleep |
| Kitchen | Neutralizing spray or gel | On demand | Let dinner smell like dinner, then reset afterwards |
| Bathroom | Gel or a small reed | 4–8 weeks | Has to survive humidity and temperature swings |
Every row in that table has its own logic, and I’ve written a full guide for each: the entryway welcome scent, the living room main stage, the sleep-friendly bedroom setup, the kitchen’s neutralize-first playbook, and the bathroom’s three constraints.
One more principle ties the table together: intensity should fall as you move deeper into the home. The entryway can make a statement, because people pass through it in seconds. The living room should be noticeable for the first few minutes, then settle into the background. The bedroom should be barely there at all. A home scented at one even volume everywhere reads less like a home and more like a hotel lobby with bedrooms.
Remember the ten-minute rule from earlier, too. Whatever you set up, your own nose will tune it out within a few weeks, and the temptation is to keep turning up the volume. Resist it. The fix is rotation: swap scents with the seasons (lighter and greener in summer, warmer and deeper in winter), and your nose gets a fresh signal each time. Your guests were never the problem; they walk in fresh and smell everything.
Two caveats override everything above. If pets share your home, several common oils and formats are off the table, so start with the pet-safe fragrance guide before lighting anything. And if your lease bans open flames, the no-candle renter setup covers every format in that table except the candle itself, and you lose less than you’d expect.
Step 3: Decide What “Good” Actually Smells Like
Here’s the part most guides skip. “A house that smells good” assumes everyone agrees on what good means, and nobody does. My cedar-and-smoke living room reads as “cozy cabin” to me and as “campfire incident” to at least one friend who has said so out loud.
So after the subtraction and the room logic, the last step is a definition: which scent family feels like yours? Crisp citrus, warm woods, soft florals, green stems, sweet amber? Some people answer instantly. If you can, skip ahead and buy with confidence.
If you can’t, two shortcuts. The fragrance family primer walks you through the five families with zero jargon. Or take the faster route: our personality quiz is built on the idea that the way you live predicts the scents you’ll keep refilling, and there’s a longer argument for why that works if you want the reasoning.
Once you know your family, you can graduate to the advanced move: one signature scent that runs through the whole home, shifted in weight from room to room. That’s the polished version of everything in this guide.
The Short Version
If you skimmed to the bottom, here’s the whole system:
- Subtract first. Air, trash, drains, fabrics, pet zones. This is 80% of the result and costs almost nothing.
- Add scent by room. Choose the format to match each room’s job, with intensity falling as you move deeper inside.
- Define “good” for yourself. Find your fragrance family before you buy a third candle you’ll abandon by August.
My apartment now smells like fig and cedar, within reason, and like nothing at all near the kitchen, which I’ve learned is the highest compliment a kitchen can receive. The drain and I are on speaking terms. I run water through it every week, the way you’d bring flowers to an old enemy.
Was this article helpful?