How to Make a $40 Candle Last Like It's $80: The First-Burn Ritual and 4 Other Habits Most People Skip
The $52 Candle I Reduced to a Sad Tunnel
The first three years I bought “nice” candles, I never made it past the third burn. I’d light one of those handsome ceramic jars from a Brooklyn-via-Provence brand, get ninety minutes in, blow it out when I got bored, and the next morning find a perfect cylinder of melted wax in the middle, surrounded by an inch of solid wax I had paid for and would never use. It looked like the candle equivalent of a doughnut.
The worst offender was a $52 fig-and-tobacco thing I had been “saving for the right evening.” I rationed it. Twenty minutes here, thirty there. By burn five it was a permanent tunnel about the width of my thumb, with the wick drowning at the bottom and a useless ring of unmelted wax forming the walls. I had spent fifty-two dollars on what was essentially an expensive paperweight that smelled faintly of regret.
What I had skipped, it turned out, was not glamorous. There is no secret oil to add, no Pinterest hack, no $30 tool you have to buy. The thing that makes a $40 candle behave like an $80 one is five small habits that nobody puts on the label. Here they are, in the order they matter.
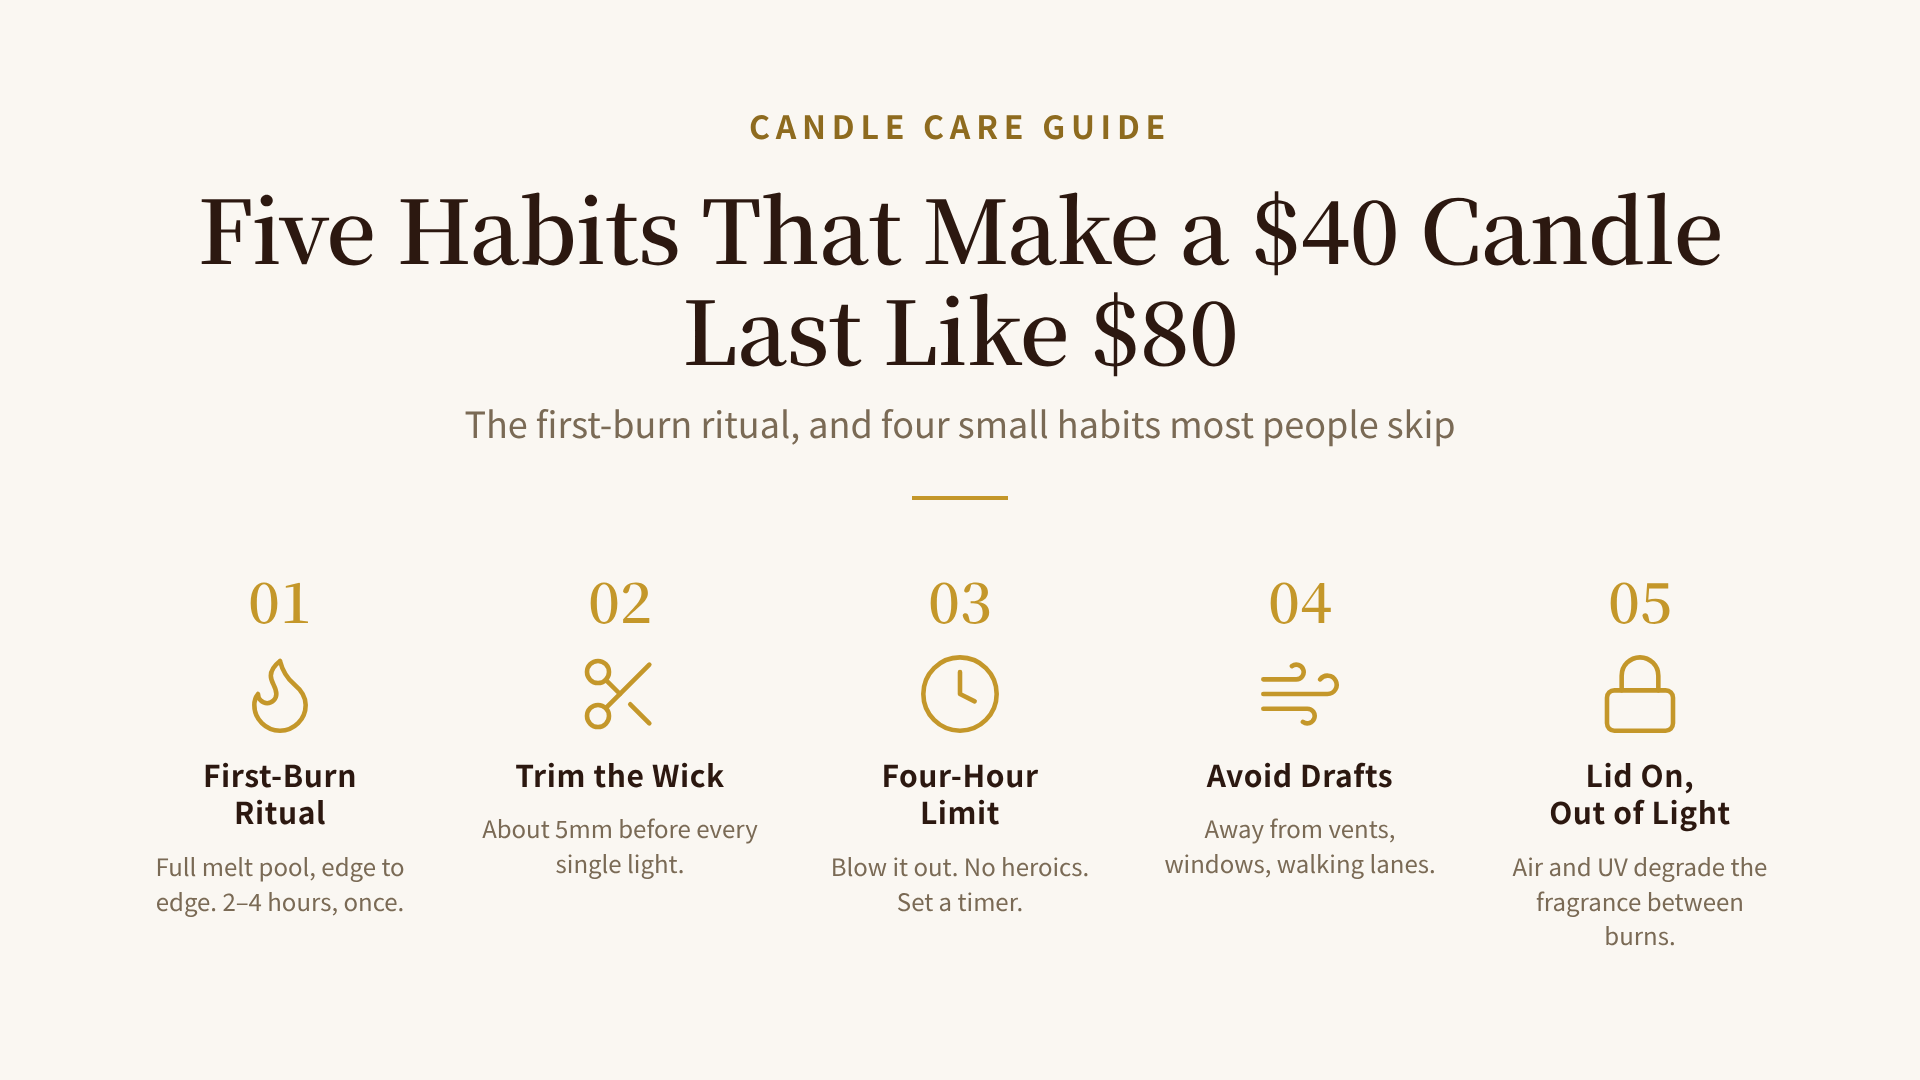
Habit 1: The First-Burn Ritual (Or: Why Your Candle Has a Memory)
The most important rule sounds slightly mystical and is actually just physics: candle wax has memory. The first time you burn it, however much wax melts on the top surface is roughly the maximum amount that will ever melt in future burns. If you light a fresh candle, get distracted, blow it out after forty-five minutes, and only a small puddle has formed around the wick, congratulations: you have just locked in tunnelling for the entire life of the candle.
The fix is simple and slightly inconvenient. The first time you light a candle, let it burn until the melt pool reaches the edge of the container, all the way around. That usually takes two to four hours for a standard 8-ounce jar, depending on the wax and the wick. A rough guide: about one hour per inch of jar diameter.
This is the ritual part. You don’t light an unknown candle thirty minutes before you have to pick someone up from the station. You light it when you’re settling in. A Sunday afternoon. A long bath. Something that earns the candle its first four hours. After that, the candle is “trained,” and shorter burns are fine.
Skip this one habit and the other four can’t save you.
Habit 2: Trim the Wick to About 5mm. Every Single Time.
I used to think wick-trimming was a thing fussy people did to feel craft-coded. It isn’t. An untrimmed wick is the single biggest reason your candle smells like a campfire by month two.
Here’s what happens. Every time you burn a candle, the tip of the wick chars. If you don’t trim it, the next burn starts with a thick, mushroom-shaped carbon bulb on top. That bulb pulls up more wax than the flame can cleanly combust, which means a bigger flame, more soot, an unstable burn, and (the cruel part) the fragrance oils cooking off faster than they should. You’re effectively turning your nice candle into a smoky imitation of itself.
Trim the wick to about 5 to 6mm (a quarter inch) before every single light, including the second one. Nail scissors work. A purpose-built wick trimmer works better because it catches the cut piece, but I’m not going to pretend you need to buy one. Scissors and a tissue.
If you see a black smoke trail crawling up the inside of your jar, that isn’t the candle being bad. That’s you being bad. Sorry. The good news is it’s the easiest of the five to fix.
Habit 3: Blow It Out at Four Hours. No Heroics.
Most candle labels mention this in 6-point type at the bottom. Most people, including me until I knew better, ignore it. The four-hour rule exists for three reasons stacked on top of each other.
One: the jar runs too hot. After about four hours, the container itself starts climbing past where the manufacturer designed it to sit, especially for glass. The flame grows. The glass can crack. The surface underneath can scorch.
Two: the fragrance starts breaking down. Fragrance compounds are volatile by definition. Cook them for hours and the next burn will smell flatter, with less of the top and middle complexity you paid for. You’re literally burning off the part of the candle that costs the most.
Three: the wick mushrooms. Extended burns let carbon build on the wick faster than the flame can shed it, which loops back to Habit 2 and a slow death by soot.
The discipline is to set a timer for three and a half hours when you light. When it goes, plan a graceful exit. Don’t push for “just a little more.” A candle that lives in three-hour sessions will smell better at burn thirty than the same candle pushed to six-hour marathons will smell at burn fifteen.
Habit 4: Put the Candle Somewhere Boring
A flickering candle looks romantic in films. In your living room, a flickering candle is almost always a flickering candle being slowly destroyed.
Flames want still air. Drafts push the flame sideways: a cracked window, an open door, an air-conditioner vent above the bookshelf, a ceiling fan, even the gust from someone walking past. A persistently off-centre flame creates an off-centre melt pool. After a few burns, the candle has a high side and a low side, the high side never fully melts, and you’re back in tunnel country.
Move the candle to a corner that is boring. Out of the line of HVAC vents. Not on a windowsill. Not on the side table next to the path between the sofa and the kitchen. If you must keep it visible, put it behind something low (a book, a small vase) that breaks the air a little. Boring placement, beautiful candle.
Habit 5: Lid On, Out of the Light, Between Burns
This is the one most people get wrong because nobody tells them. A candle is not done working when you blow it out. Between burns, two enemies keep degrading it: air and UV light.
Fragrance oils oxidise when exposed to open air, especially across weeks of sitting on a shelf. A candle left uncovered is slowly losing the top notes that made you buy it in the first place. UV light from a south-facing window does the same job faster, and as a bonus it bleaches the wax colour unevenly.
If the candle came with a lid, put the lid back on once the wax has fully resolidified. Give it an hour to be safe, because sealing a hot jar traps soot and condensation against the surface. If it didn’t come with a lid, store the candle in a cabinet, a drawer, or its original box between burns. The shelf life of a sealed quality candle is comfortably one to two years. The shelf life of one left lid-off in afternoon sunlight is much, much shorter than the brand told you it was.
The One-Page Summary
If you scrolled down here without reading the rest, fair (that’s what I’d do too). Here’s the version that fits on a fridge:
| Habit | What It Stops | Time Cost |
|---|---|---|
| 1. First-burn full melt pool | Tunnelling for the entire life of the candle | 2–4 hours, once |
| 2. Trim wick to ~5mm before every light | Mushrooming, soot, fragrance cook-off | 20 seconds |
| 3. Four-hour burn limit | Overheating, fragrance breakdown, sooty wick | Set a timer |
| 4. Place away from drafts | Off-centre flame, uneven melt, tunnel relapse | One-time decision |
| 5. Lid on, out of sunlight, between burns | Oxidation, UV degradation, colour fade | 5 seconds per session |
That’s it. No special tools, no extra purchases, no Instagram-coded “candle care kit.” A $40 candle treated this way will out-perform an $80 candle treated badly, every single time. Source: me, several embarrassing tunnels, one expensive lesson.
When the Candle Is Worth the Ritual
These five habits become more rewarding the better the candle is. A drugstore-grade paraffin candle can survive a lot of abuse, because there isn’t much nuance to lose. But a $40+ candle made with a proper soy or coconut wax base and natural fragrance oils is built for the rituals above. The fragrance is layered. The wax is denser and slower-burning (coconut and beeswax both deliver something like 12–16 hours per ounce; cheap paraffin is closer to half that). The wick is matched to the jar diameter. All of that engineering only pays off if you burn it the way the maker intended.
If you’ve been on the fence about graduating from supermarket candles to something a little more considered, this is the deciding factor: a quality candle is worth the extra spend only if you commit to the five-minute habits that protect it. If you’re going to light-and-blow without thinking, a $12 jar will give you a roughly identical experience and you’ll feel less guilty when you tunnel it.
So pick something nice for your next one. Light it on a Sunday afternoon. Set the timer for three and a half hours. Trim the wick before you strike the match. And keep this in mind: the tunnel you create on burn one is the tunnel you live with forever.
If you’re picking your first “real” candle and want it to survive the ritual, our guide to bedroom-friendly fragrance families and how personality shapes which scents work for you are good places to start. The five habits above are agnostic: they’ll keep any candle alive longer, but they pay off most on the candles you’d actually be sad to lose.
Was this article helpful?